The Calendar View version of the SPM Enterprise Scheduler Page uses a more robust calendar display of scheduled tasks and resources, which may be assigned to those tasks. Users can adjust the scheduled date of tasks and assign tasks to resources (personnel and equipment) using this page.
Notes: •Information in this article is for the Calendar View version of SPM Enterprise Scheduler Page. •This feature is (currently) hidden behind a feature flag. Users must enable this feature flag to use the Calendar View version of the SPM Enterprise Scheduler Page. |
To enable the SPM Scheduler Page – Calendar View feature flag:
1.In SPM Enterprise, click the Settings ![]() button in the upper right.
button in the upper right.
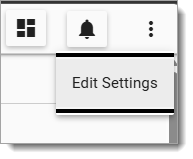
2.Click Edit Settings.
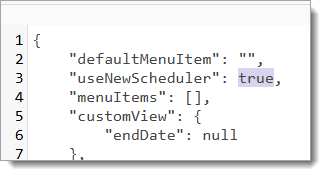
3.In the "useNewScheduler" setting, change "false" to "true".
4.Click the Save changes and close ![]() button.
button.
5.The Scheduler Page – Calendar View is now enabled.
Task Filtering
The Task Filter allows users to display selected tasks in the calendar by Plan Code and Planned Task Code.
To toggle the Task Filter:
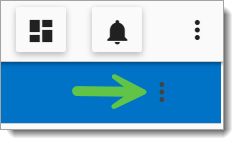
1.Click the left-arrow toggle ![]() in the page menu.
in the page menu.
2.Click any of the scheduled tasks to filter for those tasks.

When a filter is selected, a "Clear Filter" button is displayed. Clicking the button will clear all filter selections.
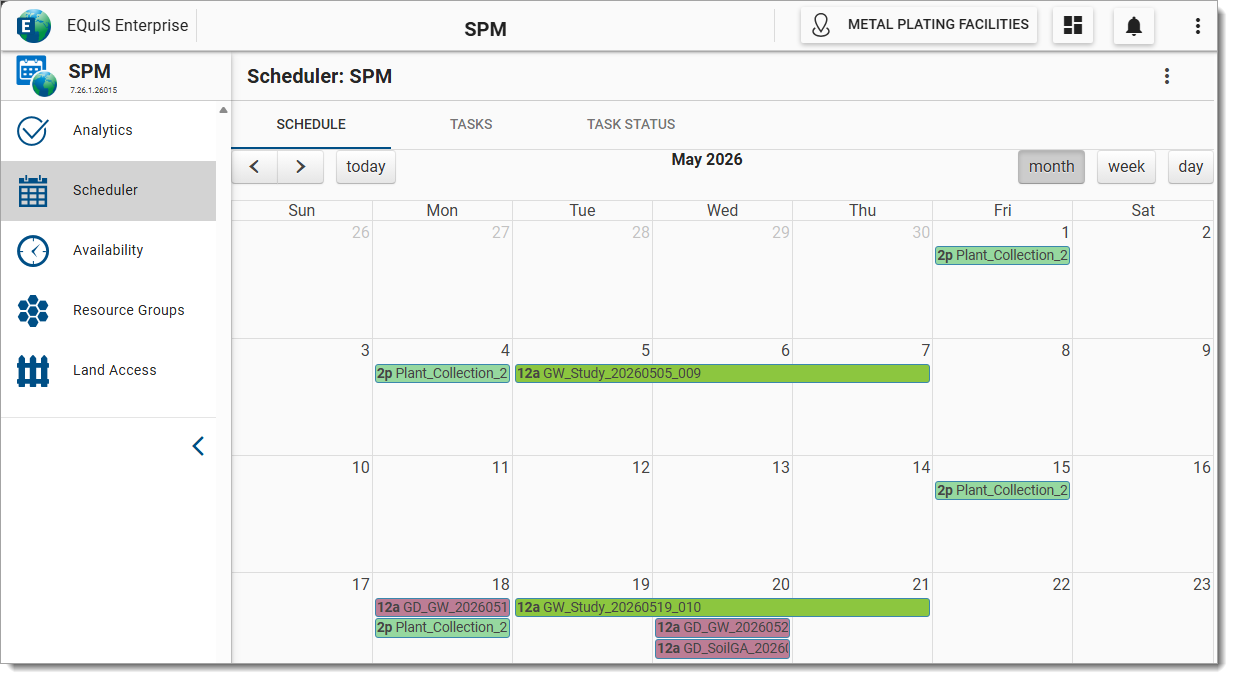
Schedule Tab
On the Schedule tab, users can navigate and view past, current, or future scheduled tasks:
•Colors are randomly assigned to scheduled tasks.
•All tasks within the same plan will have the same color.
Calendar Navigation
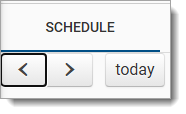
To go to a previous or future date, or to return to today's date, click the left arrow, right arrow, or today buttons in the upper left of the Schedule tab.
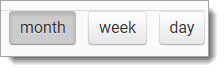
To change the calendar view, click the month, week, or day buttons in the upper right of the Schedule tab.
Tasks Tab
Tasks will appear in the Tasks tab. The Start Date or End Date of a task can be changed either individually or in a batch. The process is similar for both, as described in the following section.
Batch Schedule Option
On the Tasks tab, users can see all the tasks that have been scheduled for the session facility.
To batch edit tasks:
1.Click the check box for each of the tasks to be edited.
2.Note that only tasks from the same SPM plan can be selected for batch scheduling.
3.Click the Schedule button.
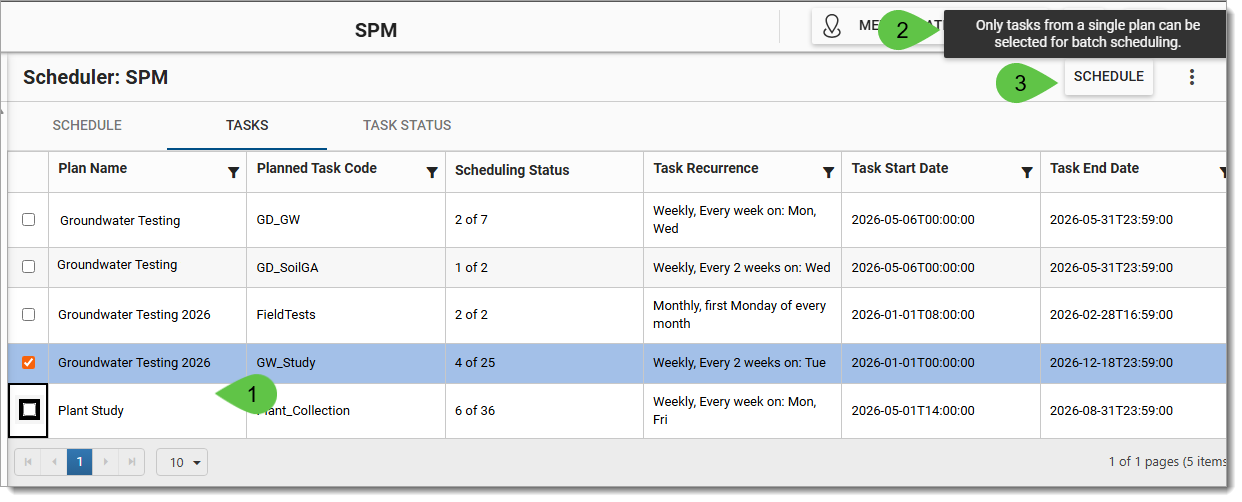
4.The Schedule Update window will open.
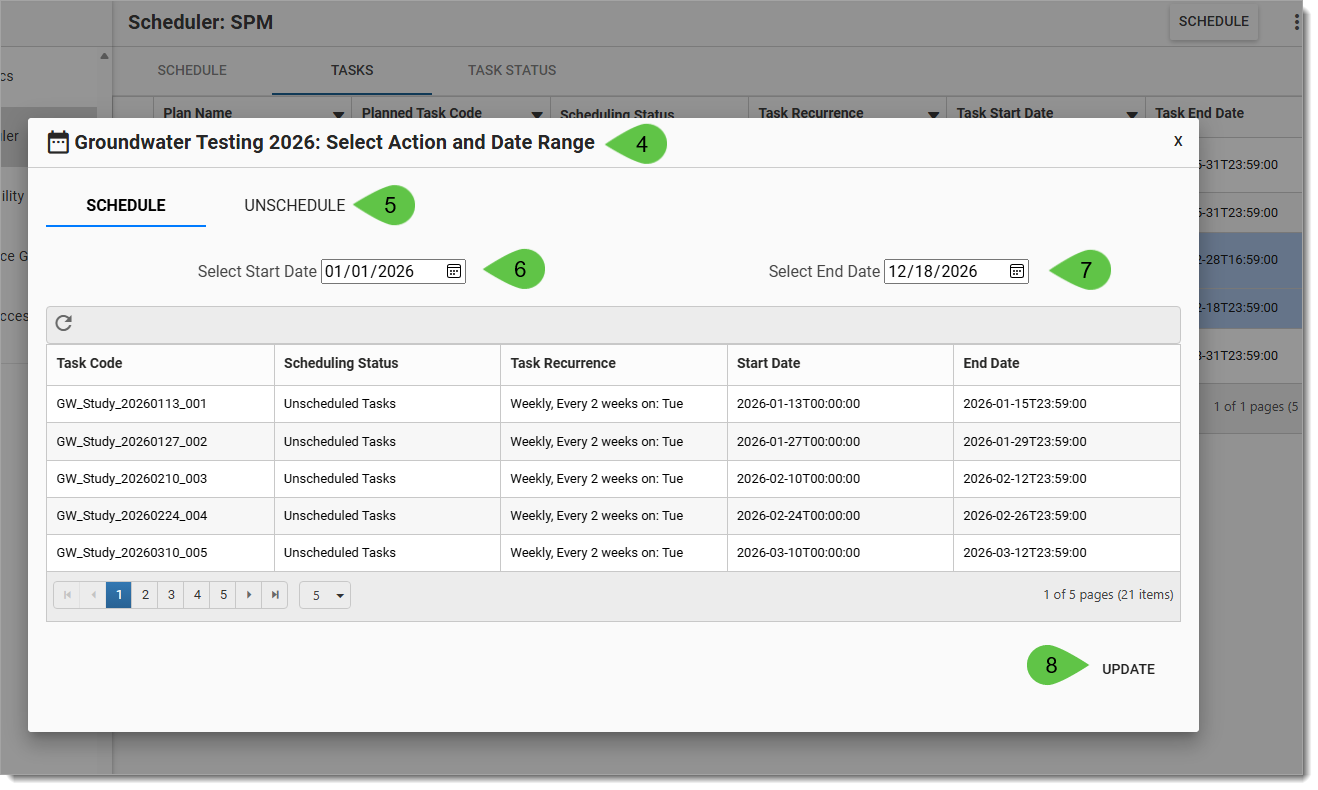
5.Click the SCHEDULE or UNSCHEDULE tabs to view scheduled or unscheduled tasks.
6.Click the Start Date picker to change the start date.
7.Click the End Date picker to change the end date.
8.When finished, click the Update button.
Task Status Tab
When scheduled, a task will move through the different statuses of the Batch Schedule Task process. The status of the task can be viewed on the Task Status tab.
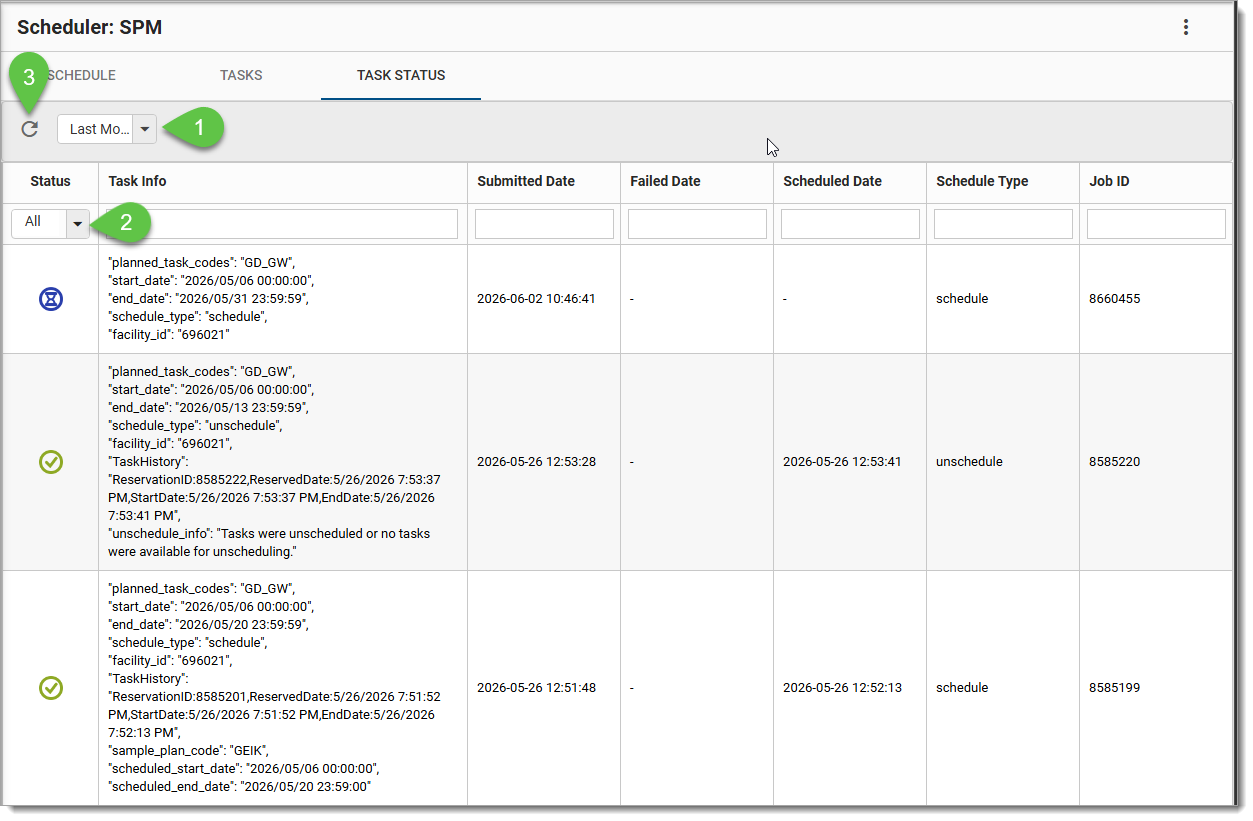
1.Date Range Filtering
Using this drop-down menu, users can filter scheduled tasks by date from today’s date to:
•Last 7 days
•Last Month
•Last 3 months
•All
2.Process Status
The Status drop-down menu can be set to filter scheduled tasks by task status (All, Completed, Failed, In Progress, Queued, or Stuck). The status will be displayed as an icon as follows:
•![]() = Completed – The tasks have been scheduled and the Scheduled Date is populated.
= Completed – The tasks have been scheduled and the Scheduled Date is populated.
•![]() = Failed – An error has occurred and the Failed Date is populated.
= Failed – An error has occurred and the Failed Date is populated.
•![]() = In Progress – The Batch Scheduled Task is currently being processed by agent.
= In Progress – The Batch Scheduled Task is currently being processed by agent.
•![]() = Queued – The task in the ST_TASK table is in the work queue and Submitted Date is populated.
= Queued – The task in the ST_TASK table is in the work queue and Submitted Date is populated.
•![]() = Stuck/Invalid – The progress of the Batch Scheduled Task could not be determined.
= Stuck/Invalid – The progress of the Batch Scheduled Task could not be determined.
3.Refresh
As scheduled tasks are processed, or if users have updated their Start Date or End Date, users can click the Refresh button to reload the task status list.