The EQuIS Professional data grid offers several options for displaying filter results. The default display option uses a filter row for text input below the column header in each row, and hides rows that do not meet the filter criteria.
To access the Filter Options menu, select the drop-down arrow for the Filter ![]() icon on the grid toolbar, then select Options
icon on the grid toolbar, then select Options ![]() .
.

The Filter Options menu appears. Select desired settings.
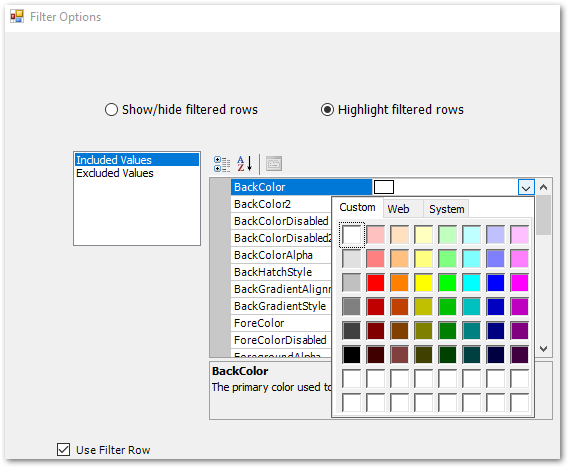
Show/hide filtered rows – This option will hide all rows that do not meet the criteria set within the filter row or a custom filter. This is the default selection for filtering rows.
Highlight filtered rows – This option allows the user to display values included and returned by the filter criteria as well as a separate display option for the excluded values that do not meet the filter criteria. The Included Values and Excluded Values options will be displayed if the Highlight filtered rows radio button is selected. Highlighting one value in the list will update the right pane of display options for that particular included or excluded value. These display options are similar to standard grid display options.
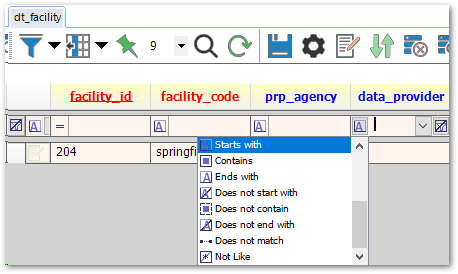
Use Filter Row – This check box will add a filter row below the column header for each table or report opened in EQuIS Professional, and is checked by default. If the Use Filter Row box is checked upon selecting the Filter icon, the filter row will display as follows.
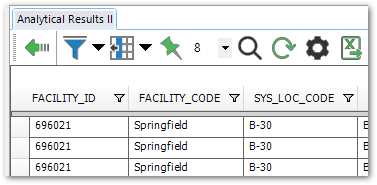
Using a filter with Use Filter Row unselected displays a filter button next to the field name, as shown in the following image.
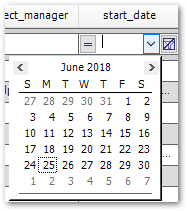
Any date field (the name of which will end in _date) will open a calendar when using the filter row drop-down.